Field Guide · Propagation · 5 min read

How to Plant Walking Onion Bulbils

Walking onions plant themselves if you let them. All you do is choose where they go.

Story Thyme Farms · Bench cardSept–Oct

How to plant walking onion bulbils

Allium × proliferum. Fall-planted topsets

DifficultyEasiest allium
Depth1–2"
Spacing6–8"
PerennialZones 3–9
1Collecting the bulbilsGather the bulbils when the stalk turns brown
2When to plantPlant in early fall rather than spring
3Planting themOne to two inches deep, pointed end up
4HarvestingCut the greens and leave some to reseed
Materials needed · Garden trowel · Straw mulch · Plant labels
Written on the farm · Missouristorythymefarms.com/guides/how-to-plant-walking-onion-bulbils
Prints on one page. The long version below stays on the screen.

The long version

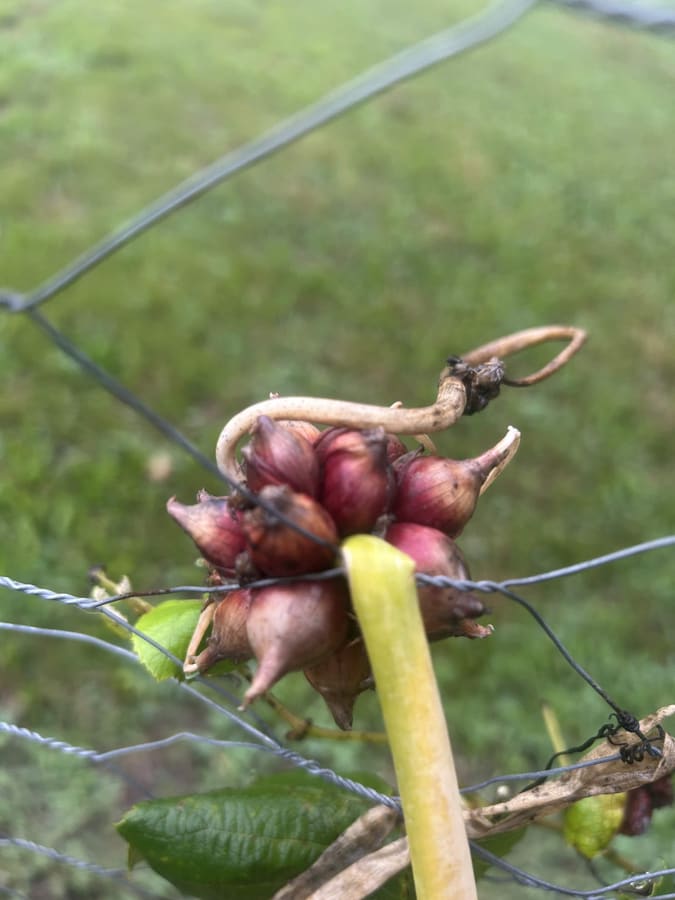
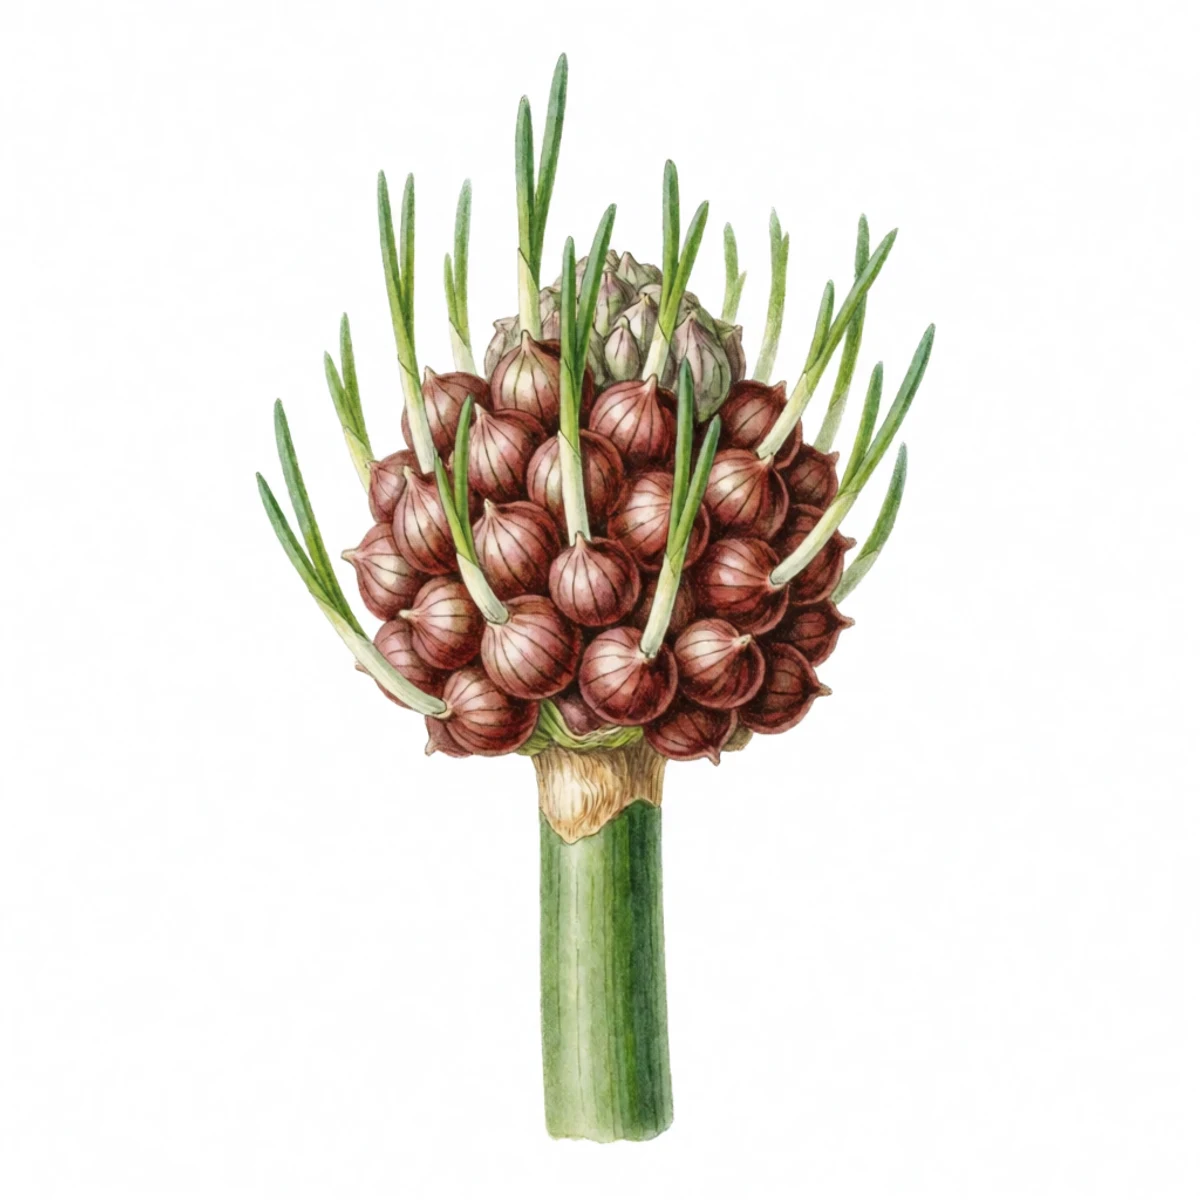
A cluster of walking onion topset bulbils grown on the farm
On the farm · Missouri

A walking onion grows its next generation in a cluster on top of the stalk, then falls over and plants it. Each cluster is a handful of small onion sets, ready to plant. Ours started as a gift of a dozen bulbils, and they now give us green onions ten months a year.

  1. Step 1 · Collecting the bulbils

    Gather the bulbils when the stalk turns brown

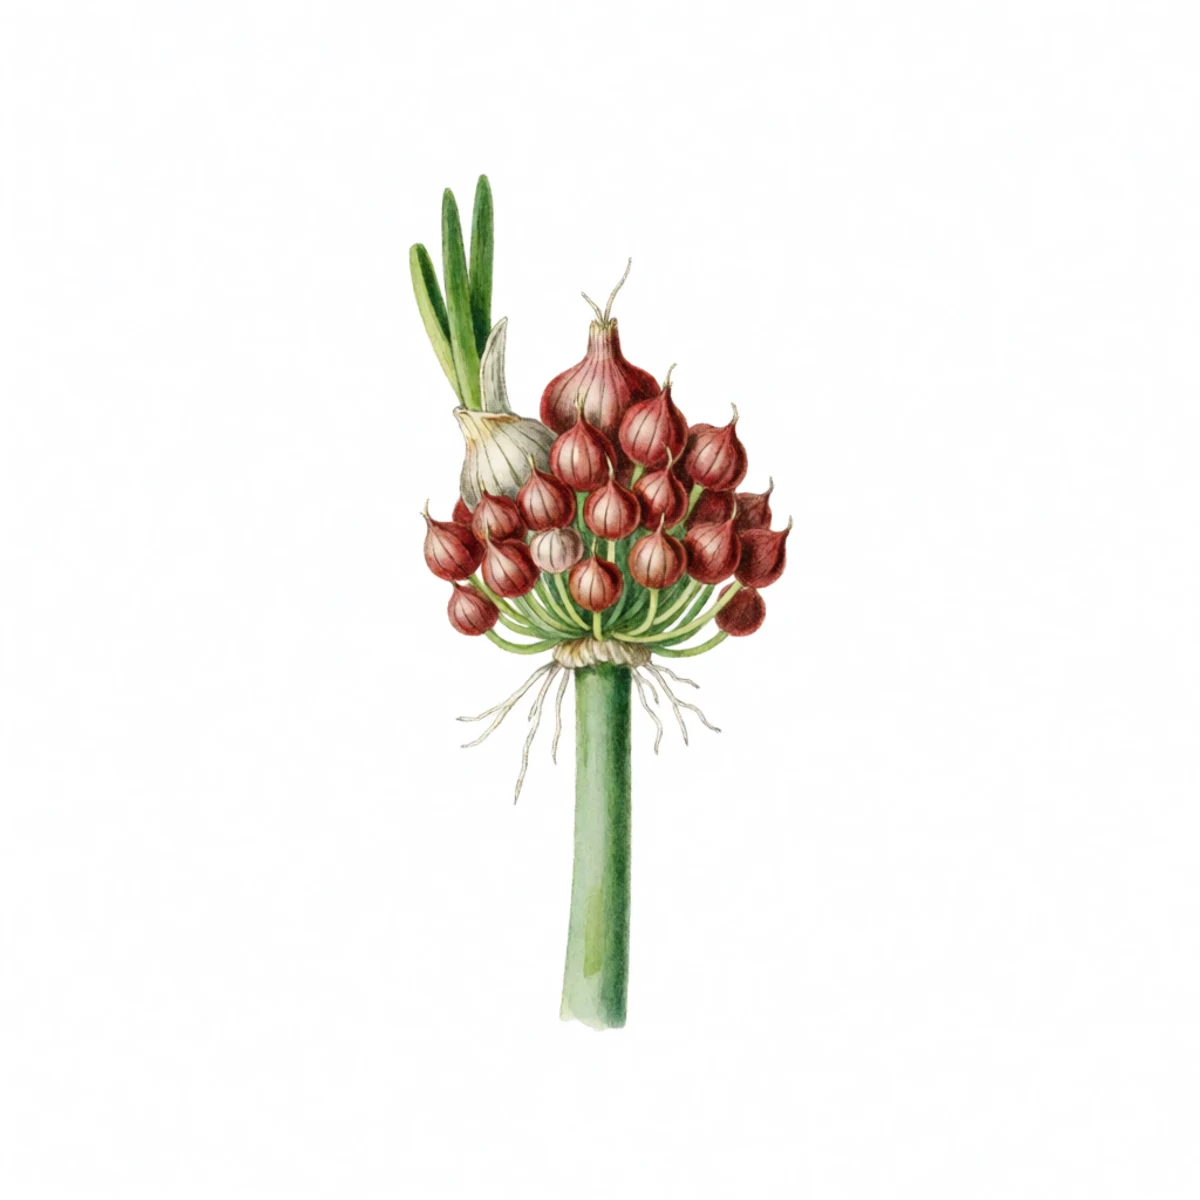
    Watercolour plate of a browning walking onion stalk topped with a cluster of marble-sized red-brown bulbils, some already sprouting thin green shoots, the cluster being twisted off

    By midsummer, each stalk carries a cluster of marble-sized bulbils where a flower would normally be. When the stalk dries out and starts to lean over, twist the whole cluster off and break it apart into individual bulbils. Even the pea-sized ones will grow.

  2. Step 2 · When to plant

    Plant in early fall rather than spring

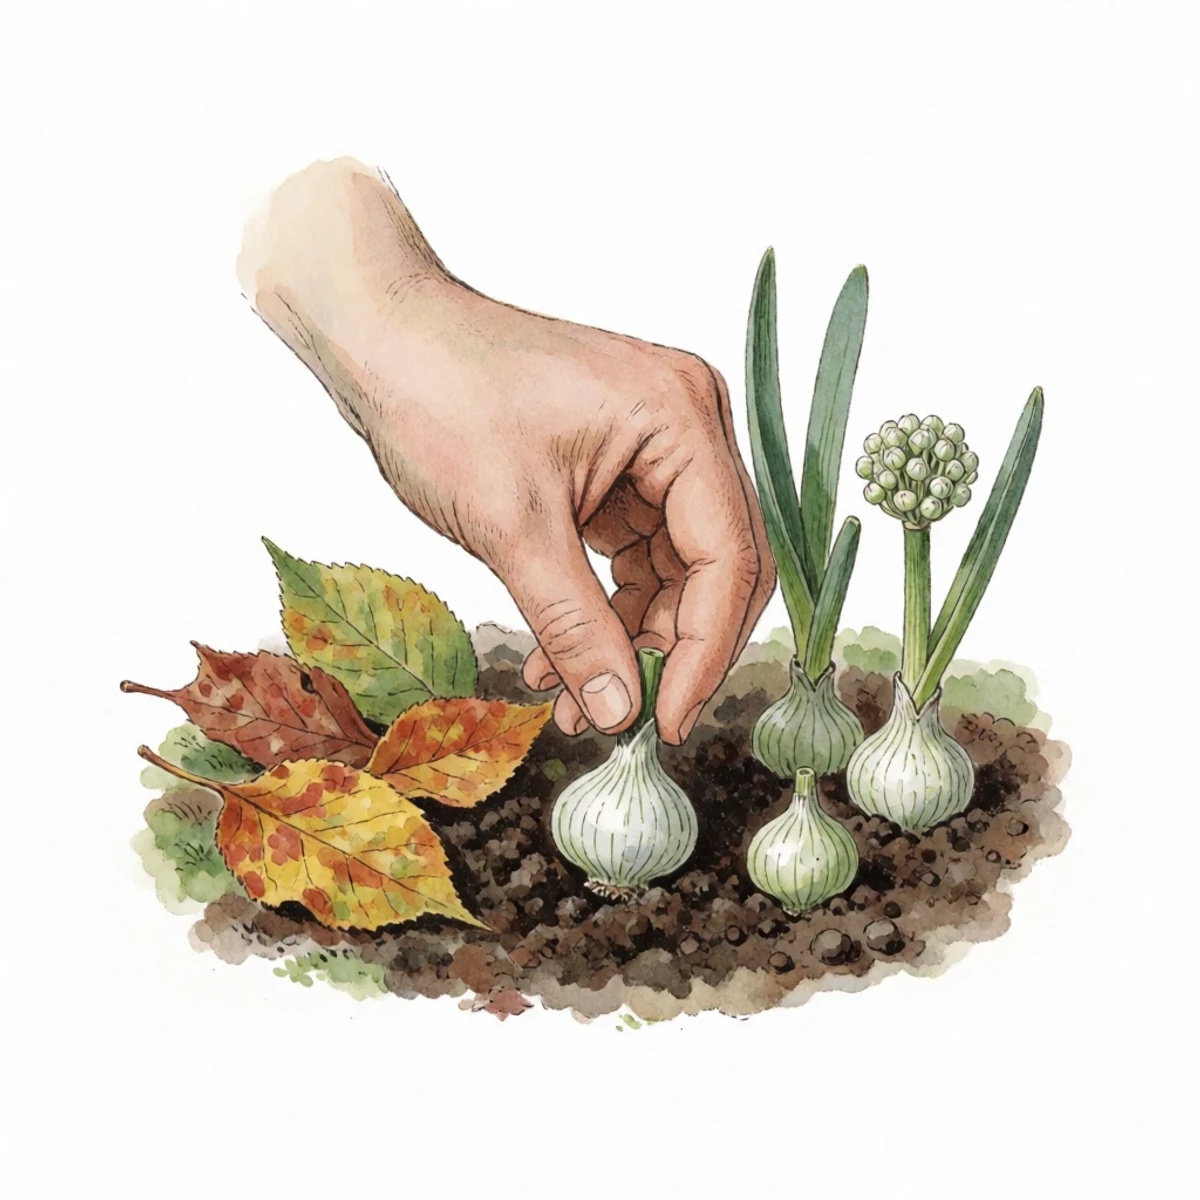
    Watercolour plate of a hand planting walking onion bulbils into autumn soil with fallen leaves nearby, a garden calendar mood of early fall

    Here in Missouri that means September through October. Bulbils planted in fall root before the ground freezes and start growing early in spring, which gives you earlier and larger green onions than spring planting does. Spring planting works too, it just puts you a season behind.

  3. Step 3 · Planting them

    One to two inches deep, pointed end up

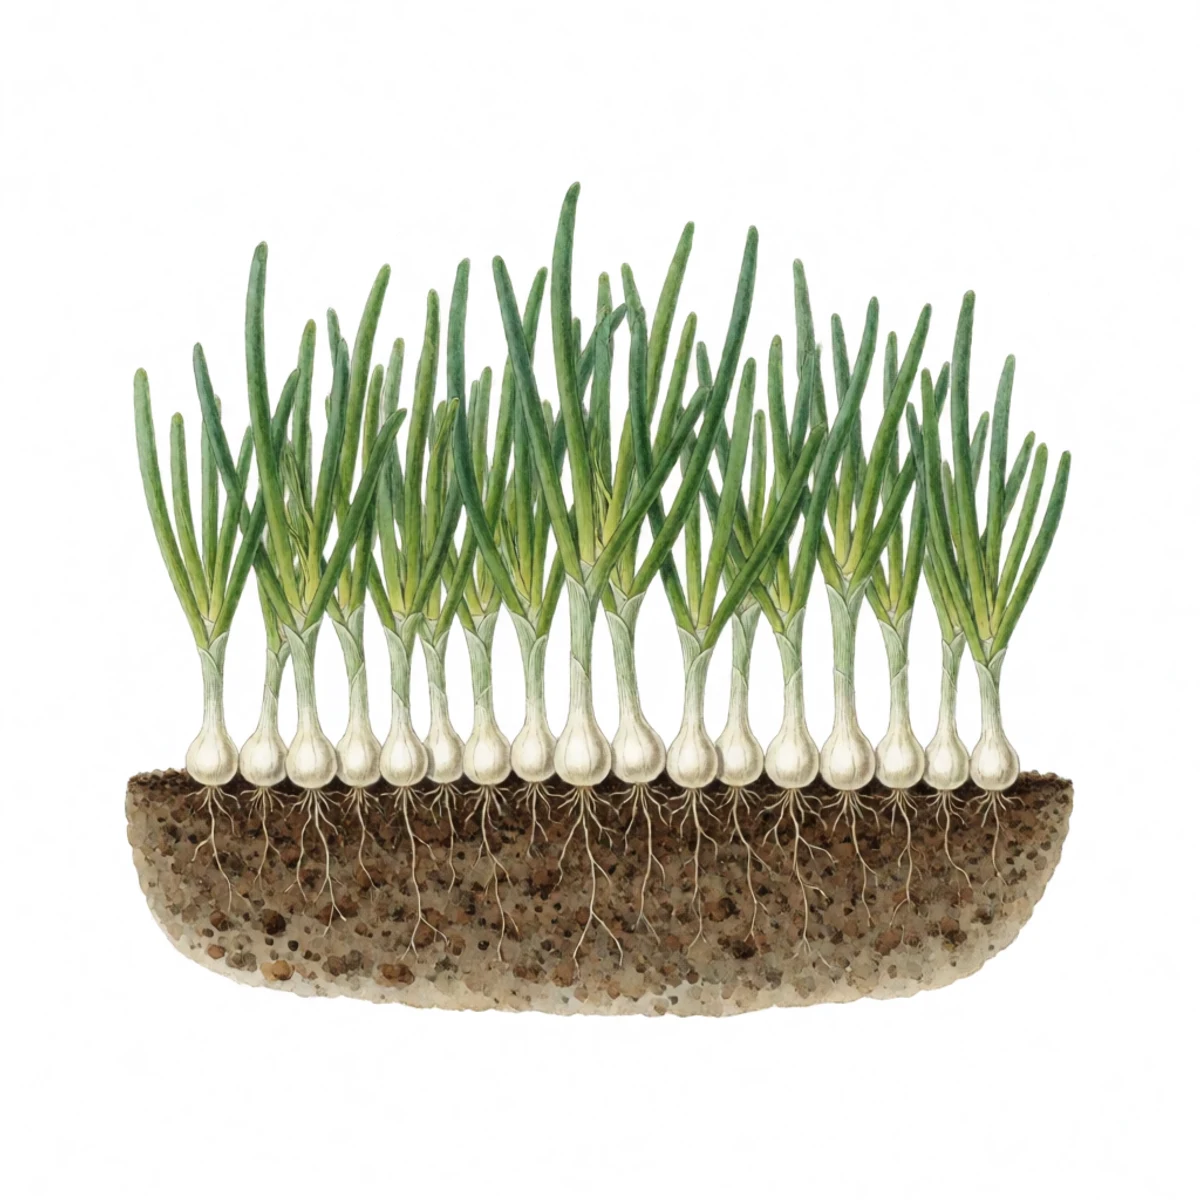
    Watercolour plate of a cross-section of soil showing walking onion bulbils planted pointy end up two inches deep and evenly spaced

    Push each bulbil an inch or two into the soil, six to eight inches apart, anywhere sunny that drains well. Water them once. That really is the whole job. They come through Missouri winters without mulch, though a light layer of straw does no harm.

  4. Step 4 · Harvesting

    Cut the greens and leave some to reseed

    From the second year on, cut green onions whenever you want them, and pull whole plants for the small, strong-flavored bulbs underneath. Leave a few stalks to form bulbil clusters each summer and the patch will replace everything you take. It moves a step or two each year unless you direct it.

Materials needed

As an Amazon Associate, Story Thyme Farms earns from qualifying purchases, at no cost to you. It never changes what we recommend.

Questions we actually get

Are walking onions the same as regular onions?
Same family, different habit. They rarely make a big single storage bulb. What you get is endless green onions, clusters of shallot-size underground bulbs, and the topsets themselves, which pickle beautifully.
How far do they actually walk?
A stalk leans over and plants its topset a foot or two from the mother. Left alone a patch drifts a few feet a year. We harvest the topsets before they touch down and plant them where we actually want them.
When are the topset bulbils ready to pick?
When the stalk under the cluster has browned and the bulbils have a papery red-brown skin, usually July here. Ready-to-plant and ready-to-pickle look the same.
From the plant library

Walking Onion — the full profile

Zones, cold-hardy cultivars, spacing, feeding, and where to buy one already rooted.

Open the walking onion guide →