Field Guide · Propagation · 11 min read

How to Graft a Fruit Tree (Whip and Tongue)

Grafting joins a shoot from the variety you want onto a root system you choose. The tree fruits years sooner than one grown from seed.

Story Thyme Farms · Bench cardLate winter

How to graft a fruit tree

Malus, Prunus, Pyrus. The whip-and-tongue graft

DifficultyModerate
Union knits4–8 weeks
Take rate60–90%
Fruits in2–4 years
A grafting knife is sharper than a kitchen knife. Always cut away from your hand.
1Collecting scion woodCut scion wood while the tree is fully dormant
2Making the cutsCut both stems at the same angle, then cut a tongue
3Lining up the cambiumLine up the cambium, not the bark
4Wrapping and sealingWrap it tightly, seal the top, and label it
5The following yearRub off everything the rootstock tries to grow
Materials needed · Grafting knife · Grafting tape · Grafting wax · Plant labels
Written on the farm · Missouristorythymefarms.com/guides/how-to-graft-fruit-trees
Prints on one page. The long version below stays on the screen.

How to make a cocktail fruit tree How to make a cocktail fruit tree

How to plant a bare-root fruit tree Planting a bare root fruit tree

The long version

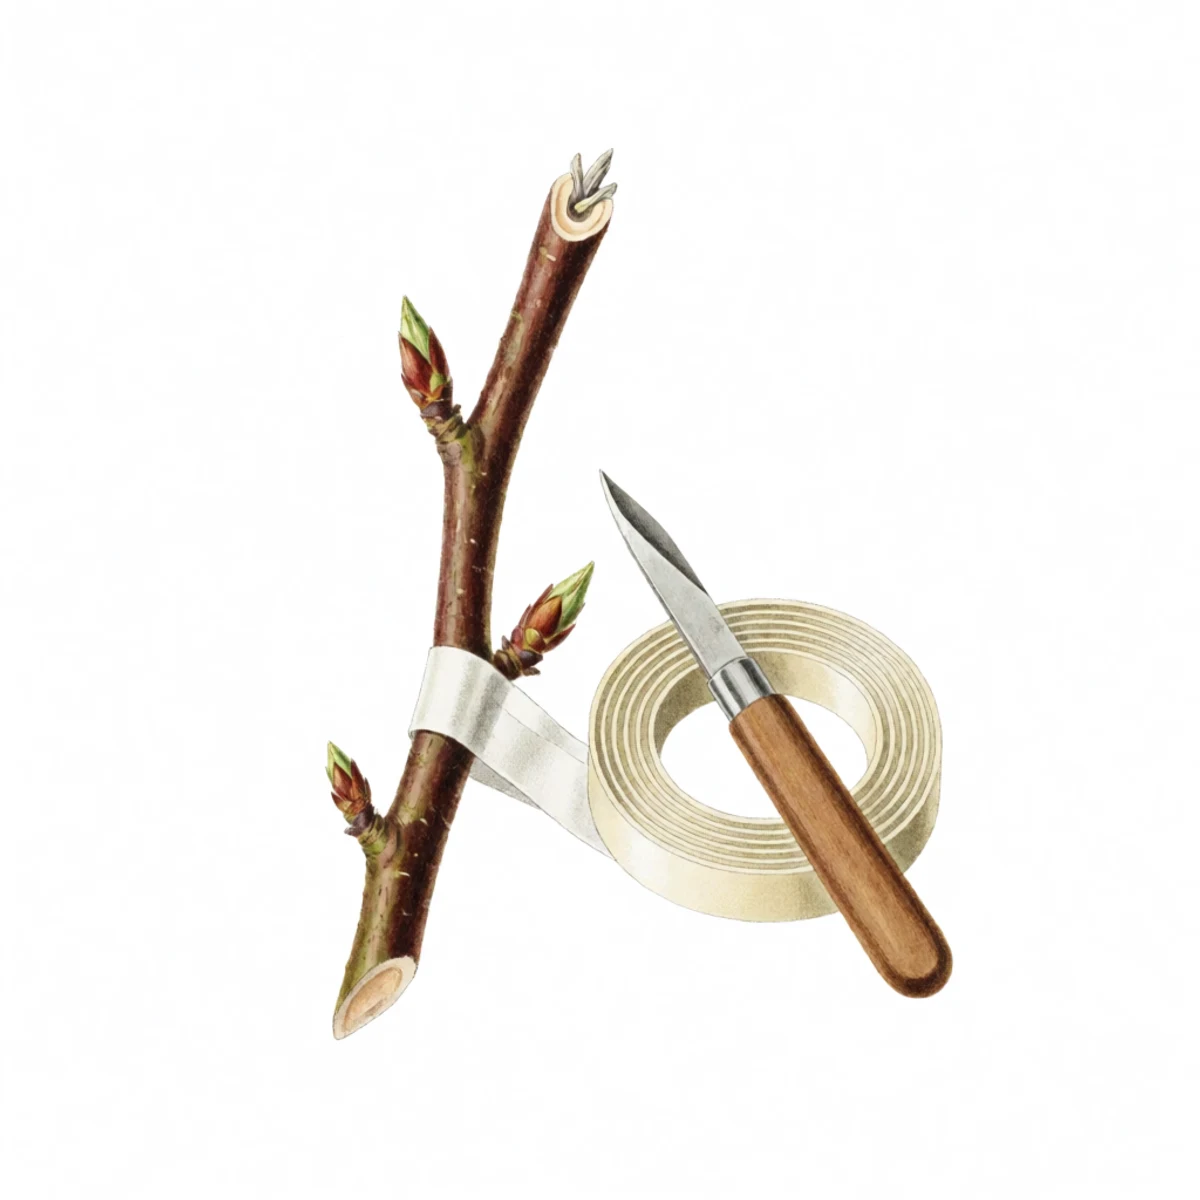
Watercolour plate of a whip-and-tongue graft on a bare fruit tree stem, the matched sloping cuts interlocked and bound with clear grafting tape, a sharp grafting knife and a coil of tape beside it, one swelling bud on the scion
Malus, Prunus, Pyrus · field plate

A grafted tree is two plants joined into one: a root system chosen for size and soil type, and a top chosen for its fruit. This matters because apple seeds do not grow into copies of their parent. Plant a Honeycrisp seed and you get an apple tree, but not a Honeycrisp, and not for a decade. Grafting is how every named fruit variety is moved from one tree to the next. Whip-and-tongue is the best one to learn first. It is quick, it lines itself up, and it holds together on its own while you reach for the tape.

  1. Step 1 · Collecting scion wood

    Cut scion wood while the tree is fully dormant

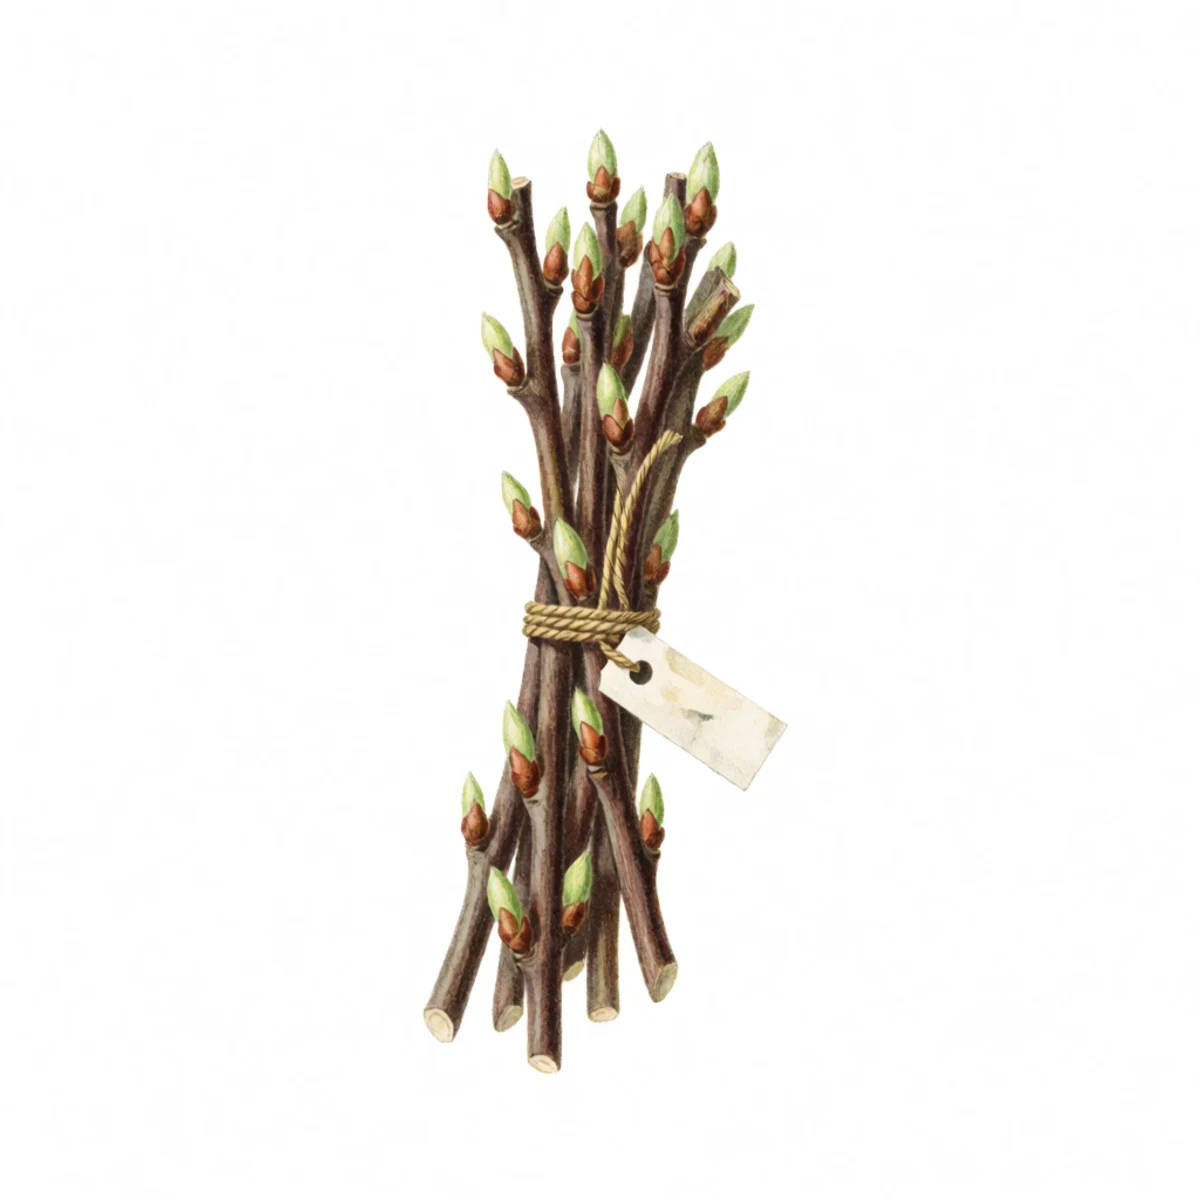
    Watercolour plate of a bundle of dormant fruit tree scion sticks tied with twine and labelled with a small paper tag, plump unopened buds along each stick, cut ends waxed
    January to February, while dormant

    Take pencil-thick wood from last year's growth in the coldest part of winter, before any bud starts to swell. You want straight sticks with three or four plump buds and no flower buds. Fat round buds are flower buds and slim pointed ones are growth buds, and growth buds are what you want. Label every stick as you cut it. Wrapped in a damp cloth inside a bag, scion wood keeps in the refrigerator for months. Keep it well away from apples, because ripening fruit gives off ethylene gas, which kills dormant buds.

  2. Step 2 · Making the cuts

    Cut both stems at the same angle, then cut a tongue

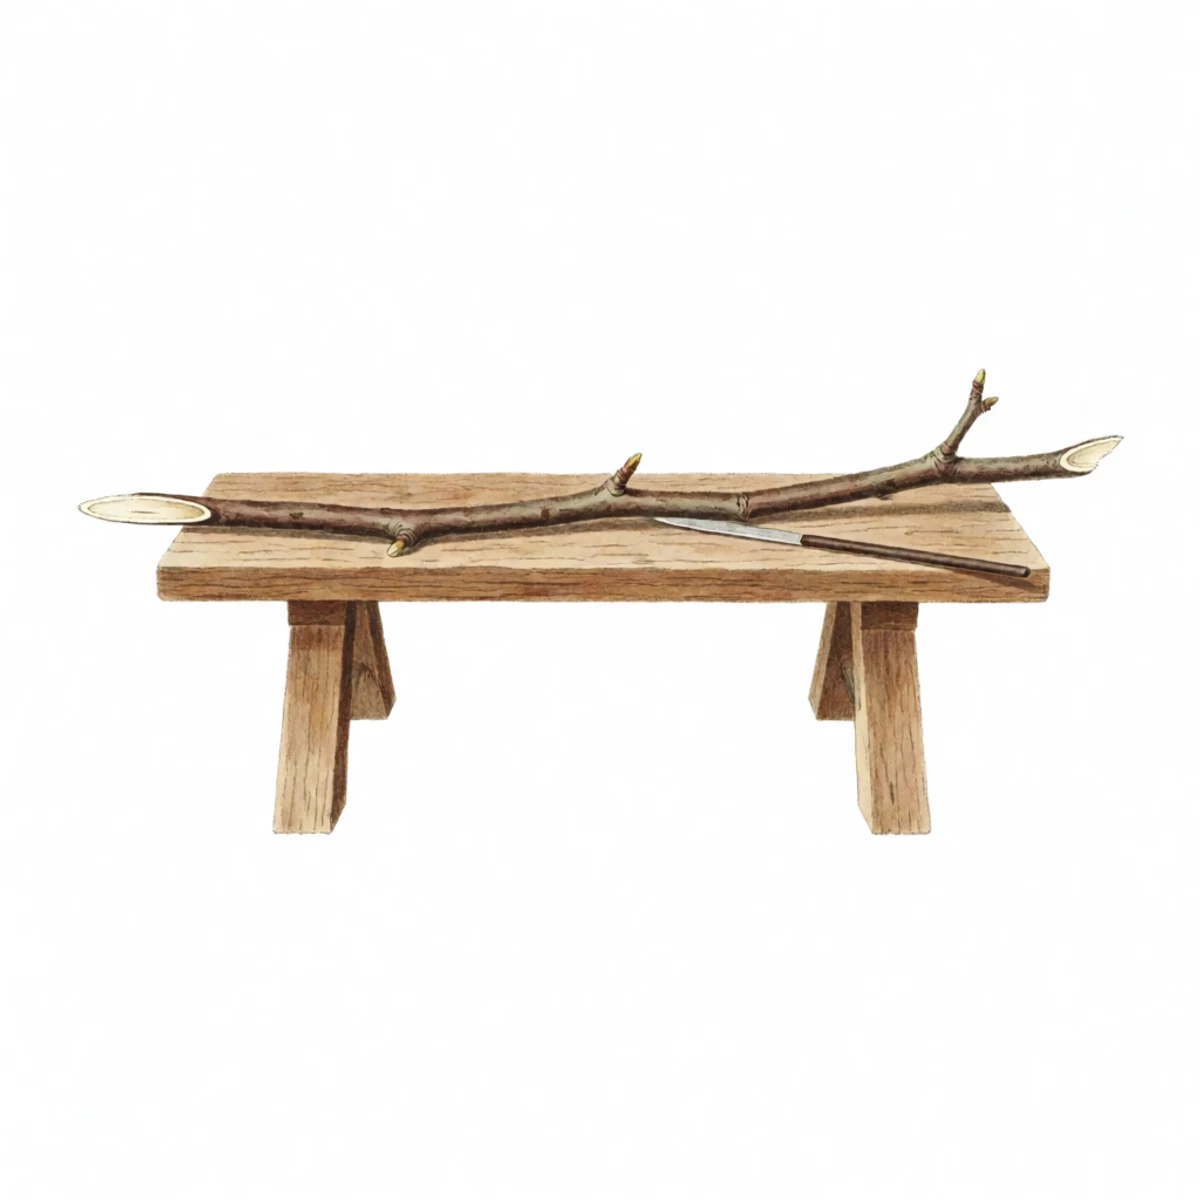
    Watercolour plate of two leafless dormant fruit tree twigs held side by side against each other, each one cut to a long sloping face with a small tongue sliced into that face, the two cut faces turned toward one another ready to be pushed together, bare winter wood with no leaves
    Cut in one smooth pull

    Make one sloping cut about an inch and a half long on the rootstock, and the same cut on the scion. Make each one in a single smooth pull rather than sawing back and forth, because a clean flat face joins together and a ragged one does not. Then cut a shallow notch downward into each cut face, about a third of the way along it. Those notches are the tongues. Sliding them together locks the two pieces so they cannot slip while you wrap them.

  3. Step 3 · Lining up the cambium

    Line up the cambium, not the bark

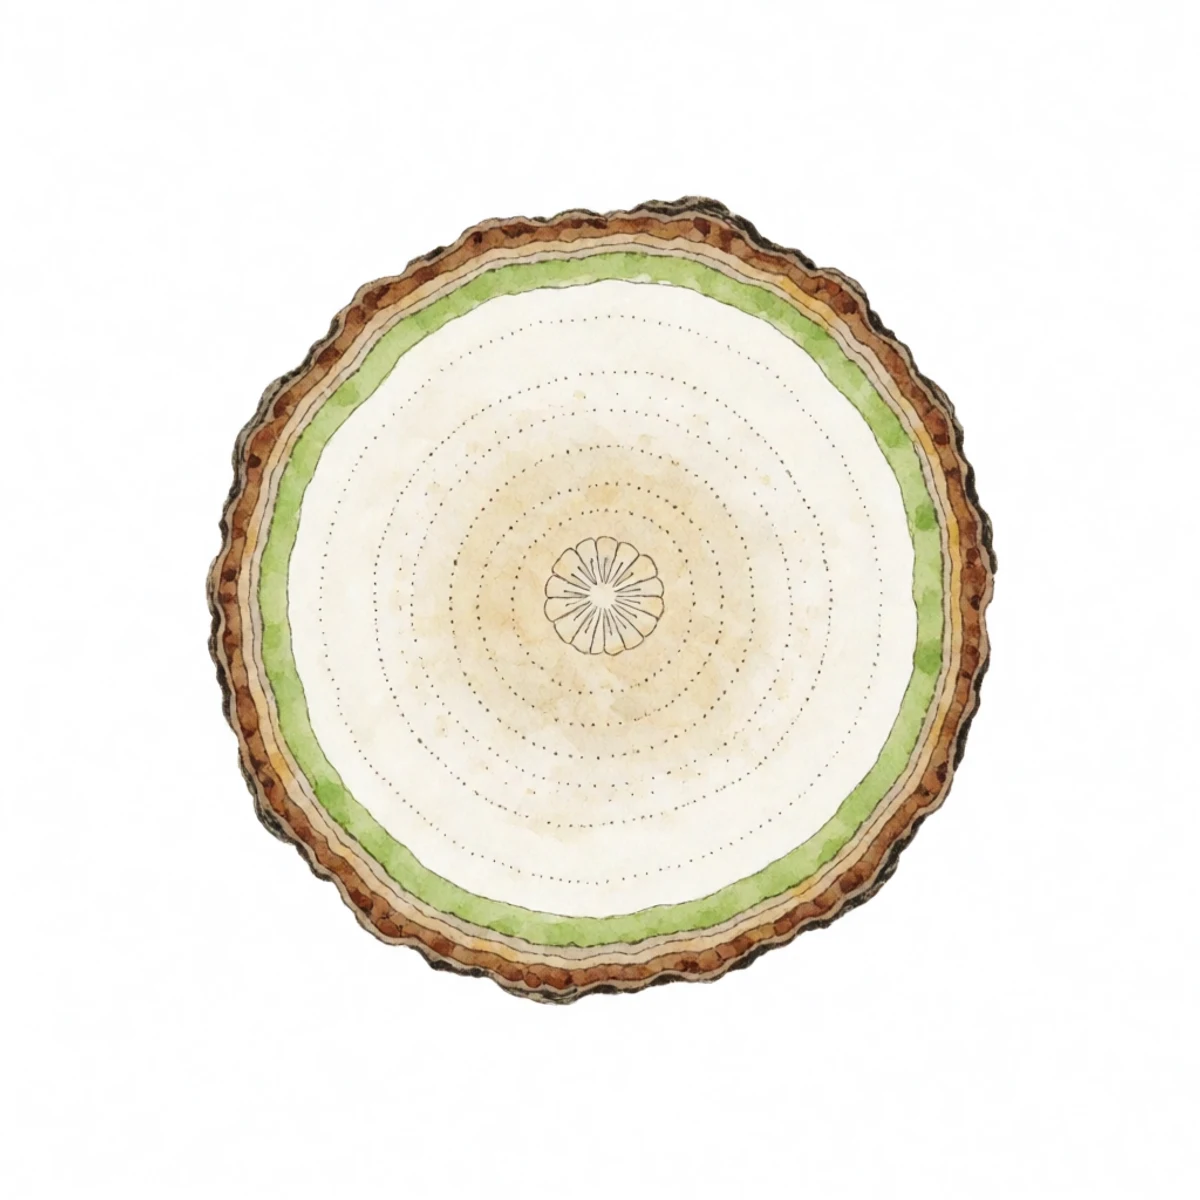
    Watercolour plate of a close cross-section of a grafted fruit tree stem showing the thin bright green cambium layer aligned between bark and wood on scion and rootstock, cut faces matched
    The two cambium layers must touch

    The cambium is the thin green layer between the bark and the wood, and it is the only part of either plant that can grow new tissue. If the two cambium layers touch, the graft will take. If they do not, nothing you do afterward will save it. When the rootstock and scion are the same thickness, the layers meet all the way around. When they are not the same thickness, which is most of the time, line up one side on purpose and ignore the other. One side in good contact works better than a graft centered so evenly that neither side touches.

  4. Step 4 · Wrapping and sealing

    Wrap it tightly, seal the top, and label it

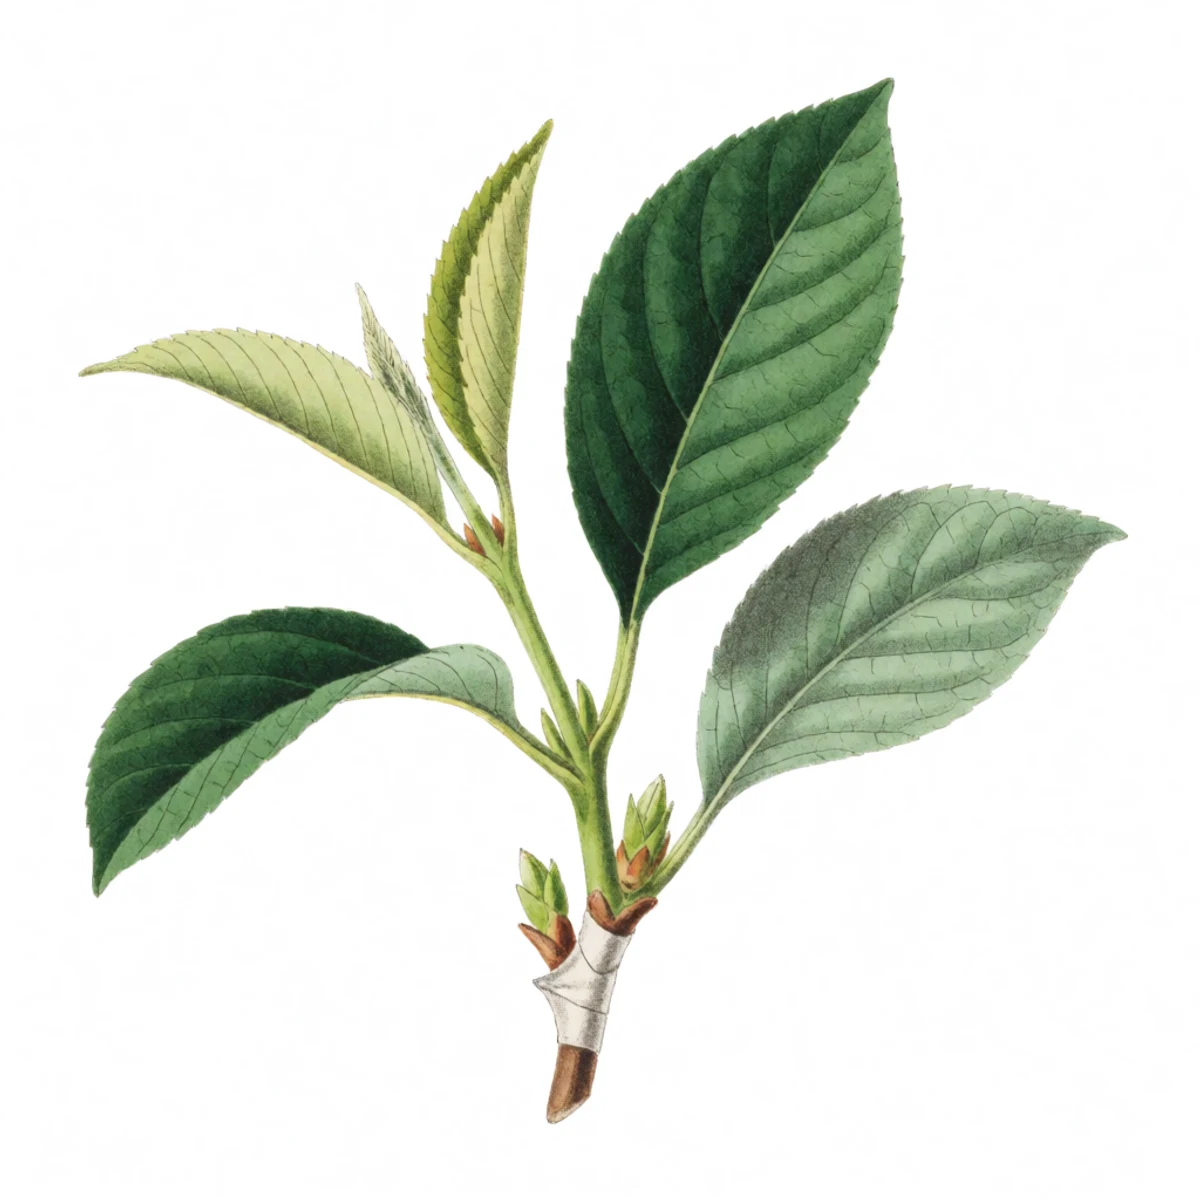
    Watercolour plate of a completed whip-and-tongue graft wrapped in clear stretchable grafting tape, the union sealed, one bud breaking green above the wrap
    Wrap upward, then seal the tip

    Wrap the join firmly with grafting tape, working from the bottom upward so water runs off it instead of into it. Wrap tightly enough that nothing moves, but not so tight that you crush the stem. Seal the cut top of the scion with wax or a piece of tape, because more grafts die from the scion drying out than from a poor cut. Then label it right away with the variety and the date. You will not remember by March.

  5. Step 5 · The following year

    Rub off everything the rootstock tries to grow

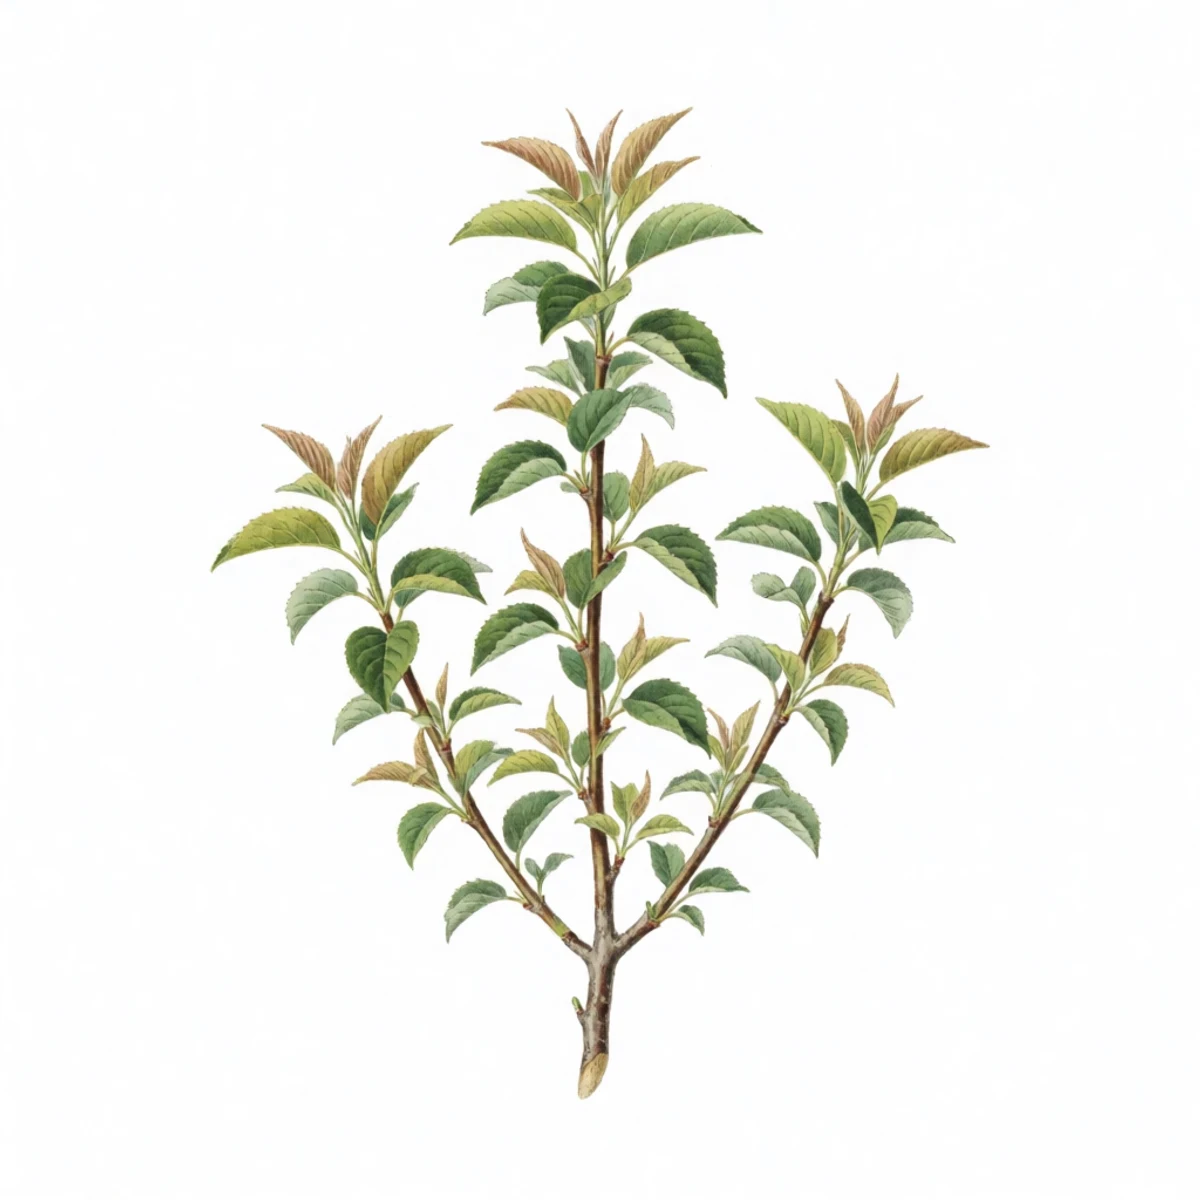
    Watercolour plate of a young grafted fruit tree with soft rootstock shoots being rubbed off below the union by a thumb, the scion growing strongly above
    Rub shoots off, do not cut them

    The rootstock will push out shoots below the join all season, and each one takes energy away from your graft. Rub them off with your thumb while they are still soft. Once the scion has grown about six inches, cut the tape open. A join left tightly bound will strangle as the stem thickens, and a graft killed by its own tape in the second year is a common and completely avoidable loss. Stake the new growth as well, because a first-year join snaps in wind.

Materials needed

As an Amazon Associate, Story Thyme Farms earns from qualifying purchases, at no cost to you. It never changes what we recommend.

Questions we actually get

When is the best time to graft a fruit tree?
Late winter to early spring, when the rootstock is just waking and the scion is still fully dormant. That gap is the whole point: the roots are ready to push sap into a union the scion has not yet demanded anything from. Grafting a scion that has already broken bud is the most common beginner mistake, because the top starts transpiring before the union can supply it.
What can be grafted onto what?
Stay inside the genus and you are usually safe. Apple onto apple or crabapple; pear onto pear or quince; plum, peach, apricot, nectarine and almond are all Prunus and largely interchange. Cherry is Prunus too but noticeably fussier. Across genera — apple onto pear, citrus onto apple — the graft fails, and videos claiming otherwise are showing you a stick taped to a tree, not a union.
Why did my graft fail?
In order of likelihood: the cambium never touched, the scion dried out before the union knitted, the scion was not dormant, or the wrap loosened and let the join move. A failed graft usually looks fine for six weeks — the scion lives on stored energy and can even push a leaf before it dies. Judge it in midsummer, not in May.
Do I need rootstock, or can I graft onto a tree I already have?
Either. Bench grafting onto bought rootstock lets you choose the tree's final size, which is the single biggest decision in an orchard. Grafting onto an established tree — top-working — changes the variety of something that already has roots, and it fruits far sooner.