Field Guide · Food forest · 7 min read

How to Plant a Bare Root Fruit Tree

Bare root trees are cheaper than potted ones and establish faster. Get two things right, the root flare and the graft union, and it is hard to plant one wrong.

Story Thyme Farms · Bench cardLate winter–early spring

Planting a bare root fruit tree

Planting in the dormant season, in about an hour

DifficultyOne hour, one shovel
Graft union2–3" above grade
AmendmentsNone. Native soil.
WaterDeep, every 10–14 days
1Getting readySoak the roots while you dig the hole
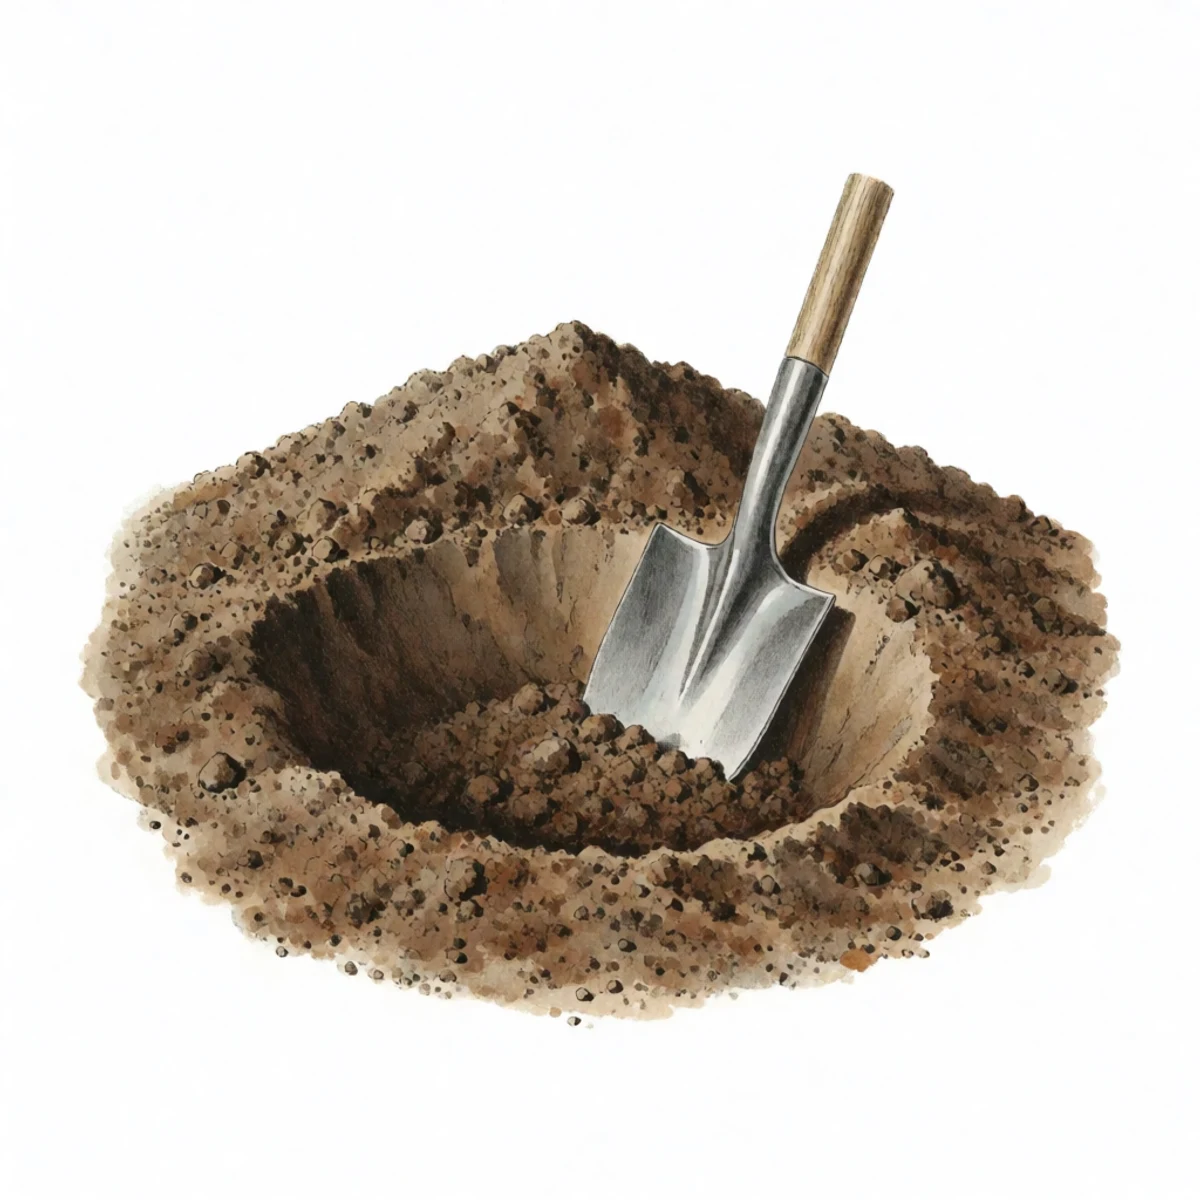
2Digging the holeDig a wide shallow hole, not a deep one
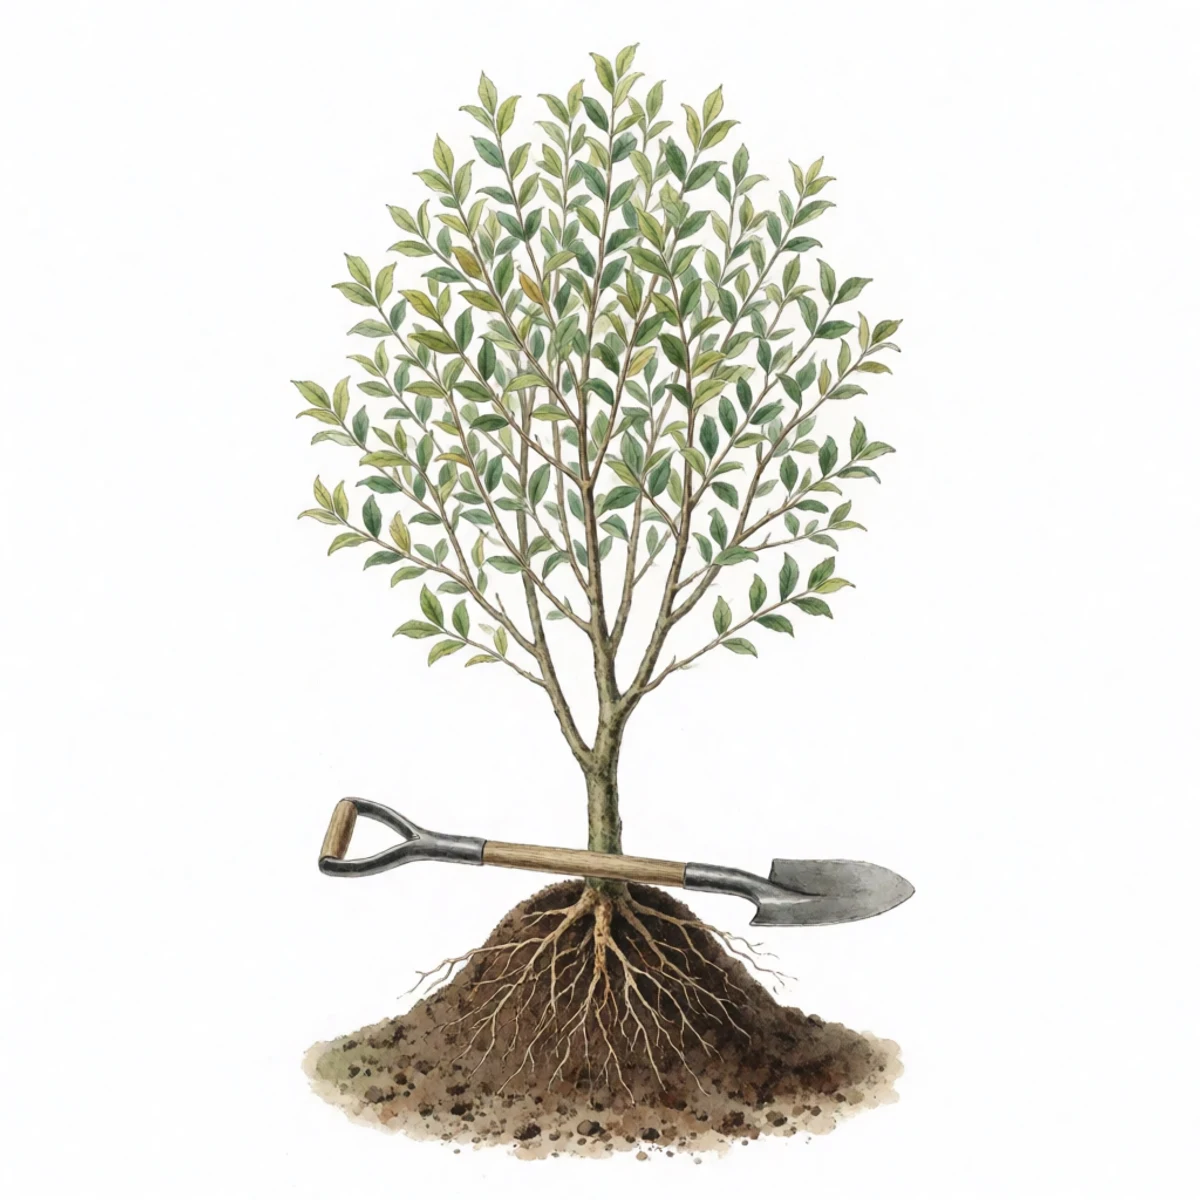
3Setting the treeBuild a mound, spread the roots, and check both lines
4Filling it inUse the soil you dug out, water it in, and do not stamp it down
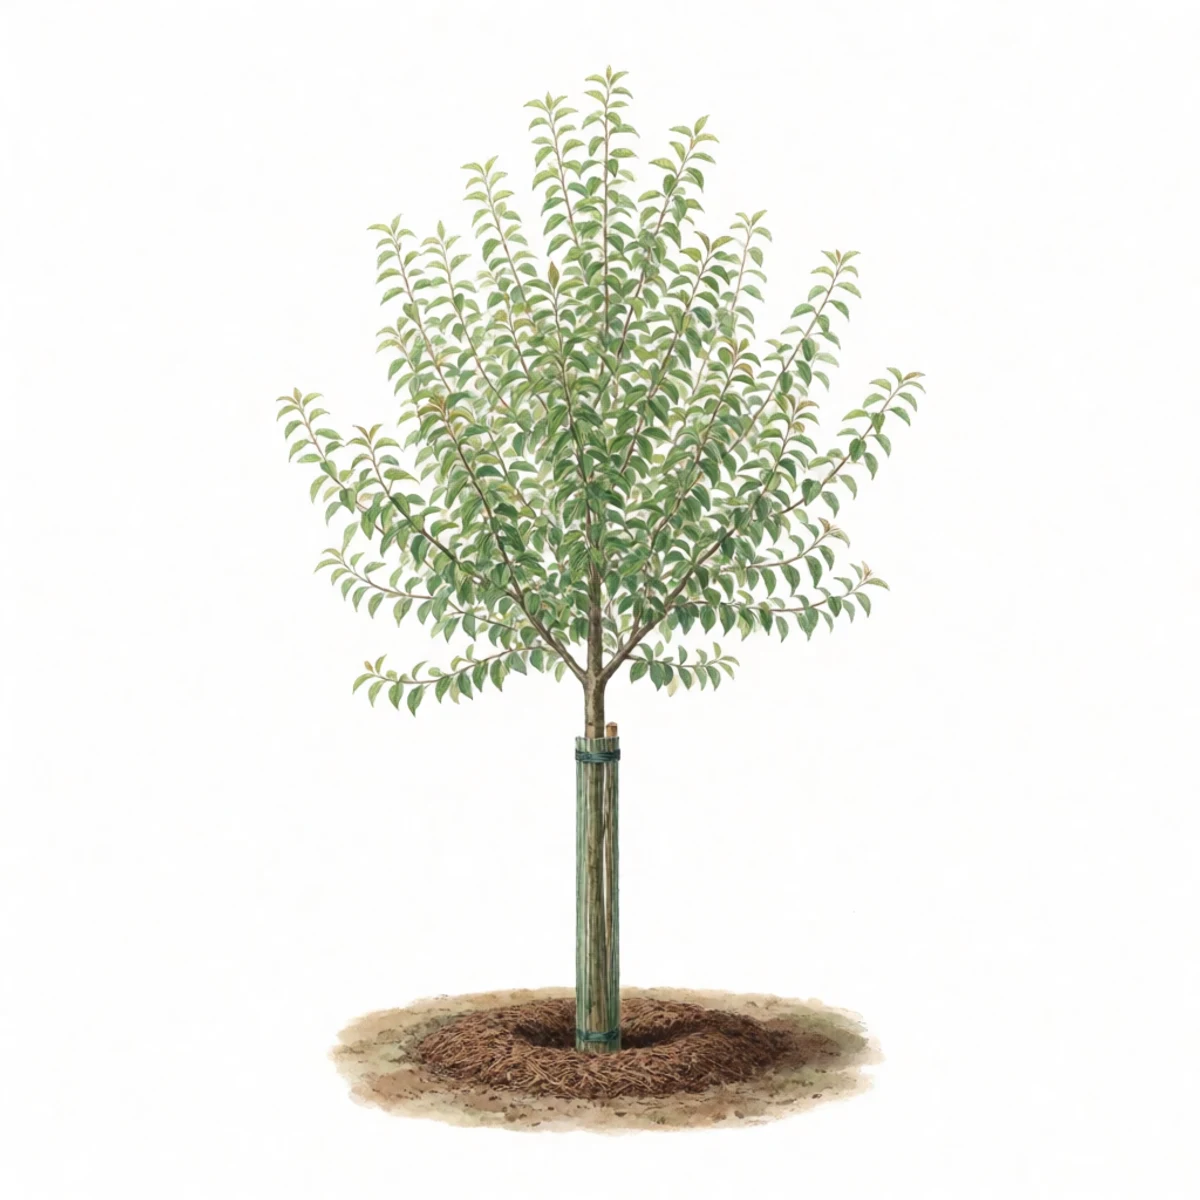
5Finishing upMulch, a trunk guard, and deep watering
Materials needed · Digging spade · Tree trunk guards · Wood chip mulch · 5-gallon bucket
Written on the farm · Missouristorythymefarms.com/guides/how-to-plant-a-bare-root-fruit-tree
Prints on one page. The long version below stays on the screen.

The long version

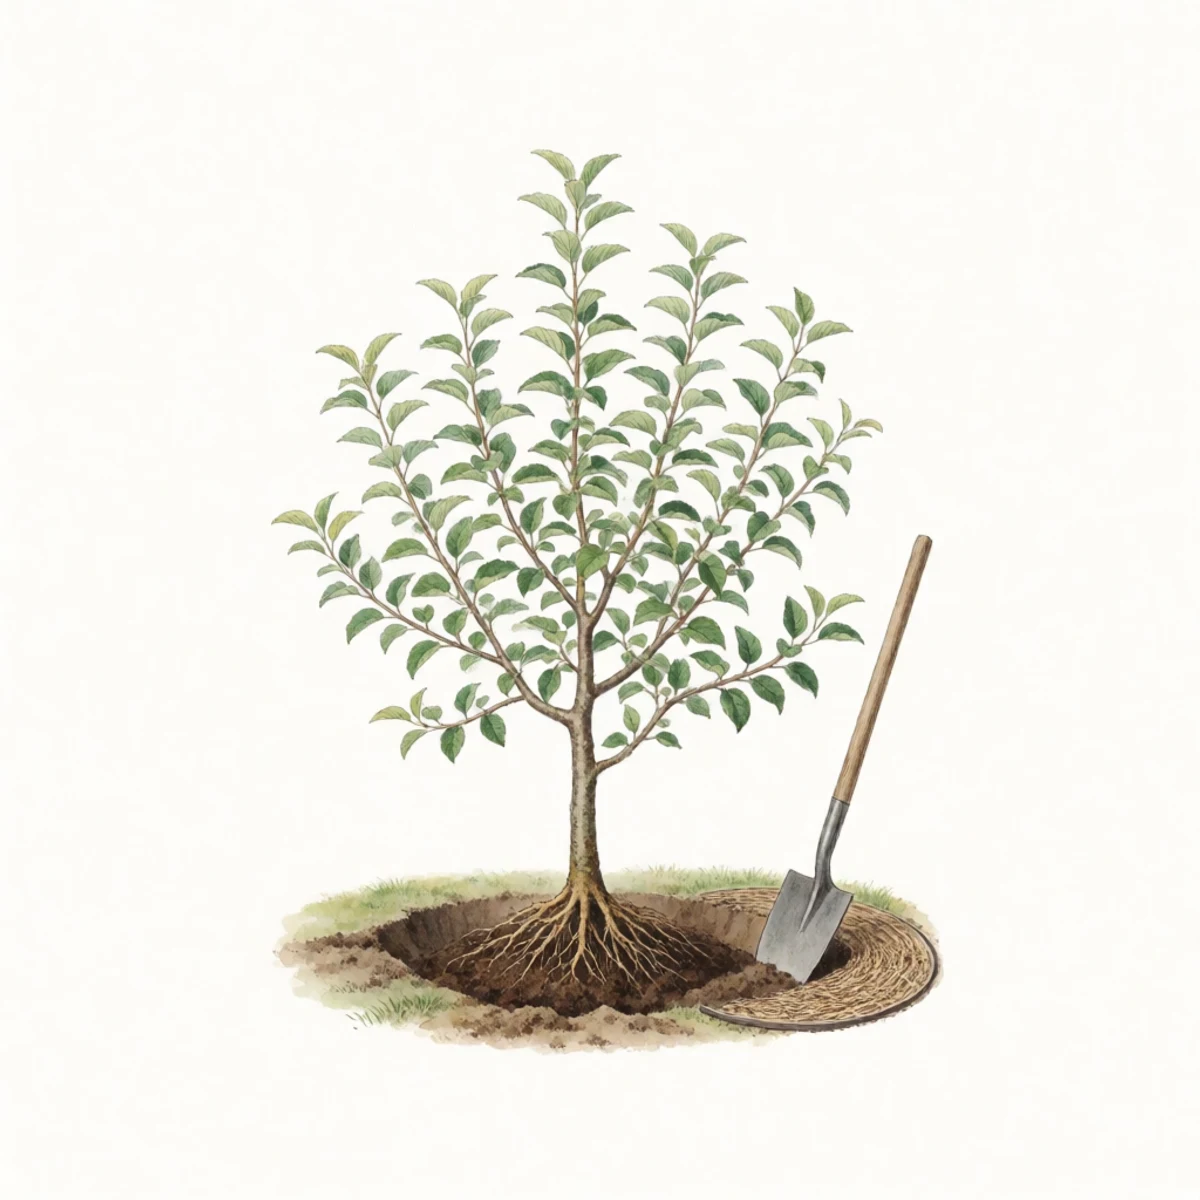
Watercolor plate of a bare root tree set over a soil mound in a planting hole
Planting in the dormant season, in about an hour · field plate

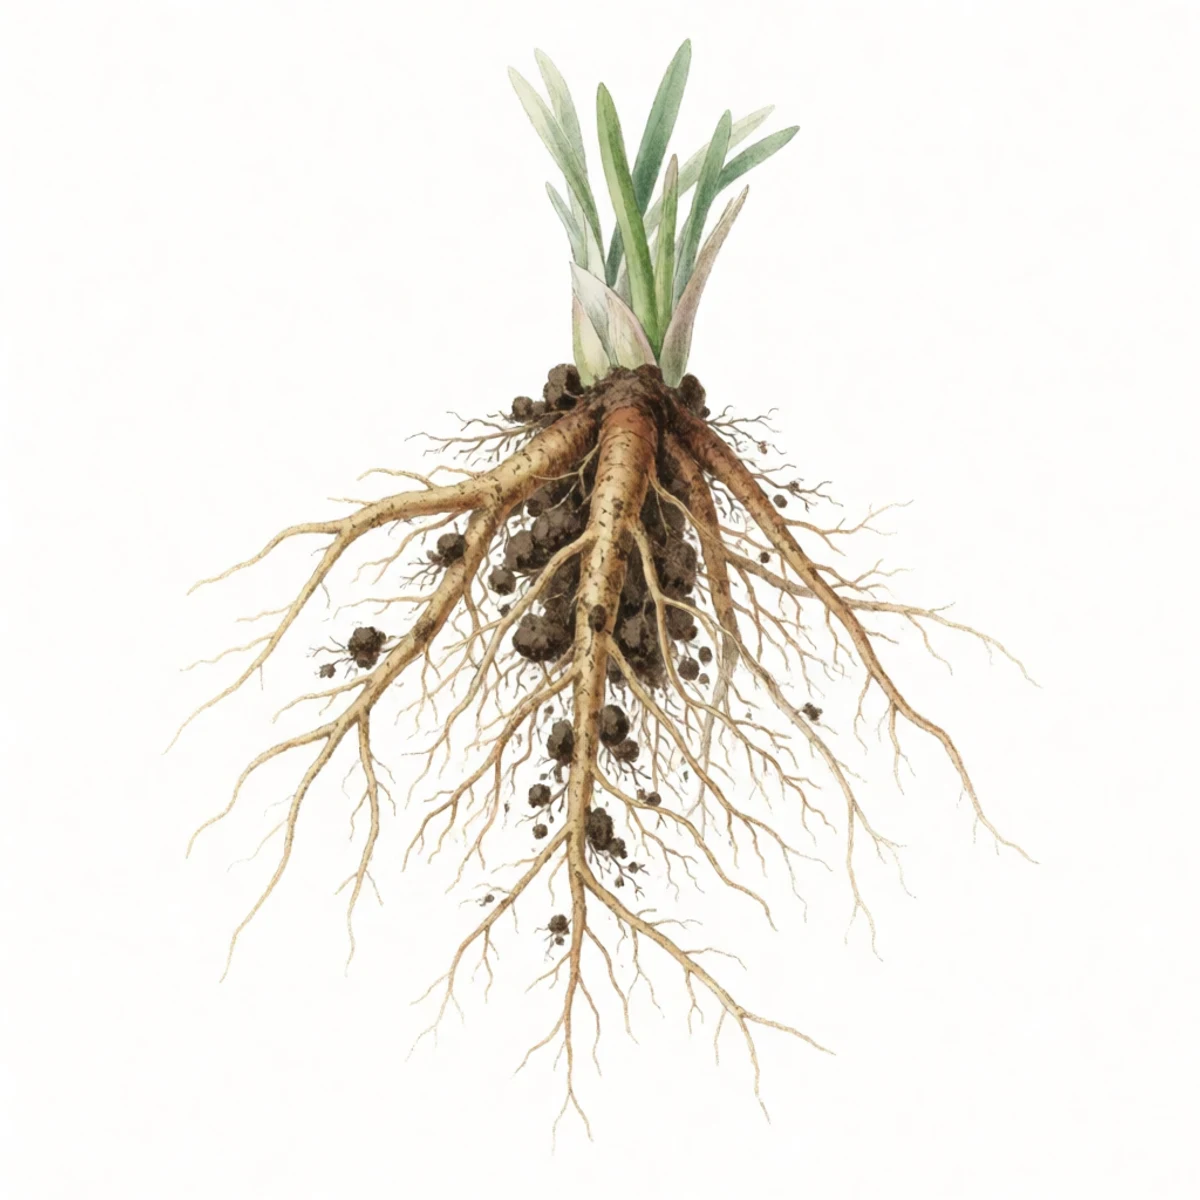
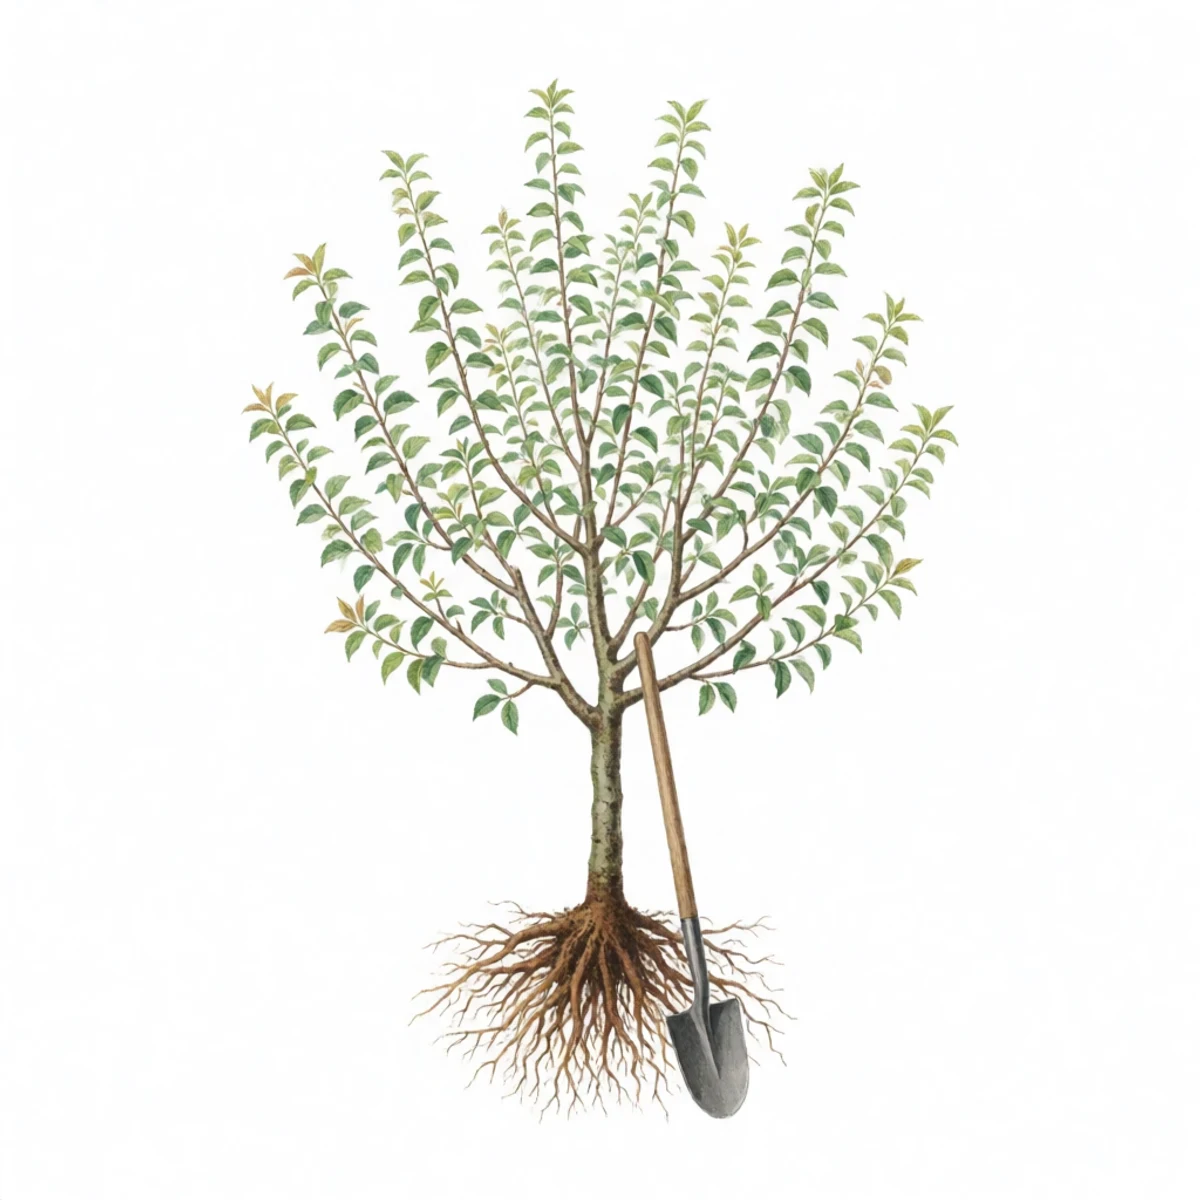
A bare root tree is a dormant young tree with no soil around its roots. It costs about half what a potted tree does and establishes faster, because every root it grows starts out in your soil rather than in a nursery pot. The whole job comes down to planting it at the right height: the root flare level with the ground, and the graft union above it.

  1. Step 1 · Getting ready

    Soak the roots while you dig the hole

    Watercolour plate of a bare-root fruit tree with its roots standing in a bucket of water, wrapping removed, a spade beside

    Unwrap the tree and stand the roots in a bucket of water for two to six hours, and never more than a day. Trim off only what is broken or mushy. If something delays planting, lay the tree in a pile of damp mulch in the shade with the roots covered, and it will keep for several days.

  2. Step 2 · Digging the hole

    Dig a wide shallow hole, not a deep one

    Watercolour plate of a wide shallow flat-bottomed planting hole dug into brown garden soil with a spade blade standing upright in the loose earth beside it, the mound of dug soil heaped at the rim, seen from above at a slight angle

    Make it two to three times wider than the spread of the roots but only as deep as the roots themselves, with the sides roughed up rather than smooth. Deep holes settle and pull the tree down with them. Do not put compost or potting soil in the hole either, because roots circle inside an enriched pocket the same way they circle in a pot. Use the soil you dug out.

  3. Step 3 · Setting the tree

    Build a mound, spread the roots, and check both lines

    Watercolour plate of a bare-root tree set on a firm cone of soil with roots spread down over it, a shovel handle laid across the hole to check the graft union sits above grade

    Build a firm cone of soil in the middle of the hole, spread the roots down over it, and lay a shovel handle across the hole to check your level. The root flare, where the trunk widens into the roots, should sit right at ground level. The graft union, the knuckle low on the trunk, should sit two to three inches above the finished soil line. If you bury the graft, the top will root above it and outgrow the rootstock, and you lose the dwarfing.

  4. Step 4 · Filling it in

    Use the soil you dug out, water it in, and do not stamp it down

    Watercolour plate of native soil crumbled back around spread roots and watered in, hands firming rather than a boot stamping

    Crumble the dug soil back in around the roots, firming it with your hands as you go. When the hole is half full, water it deeply to settle out any air pockets. Then finish filling it, build a shallow basin around the tree to hold water, and soak it again. Do not fertilize at all this year, because the tree needs to grow roots first.

  5. Step 5 · Finishing up

    Mulch, a trunk guard, and deep watering

    Watercolour plate of a newly planted fruit tree with a three-inch mulch donut pulled back from the trunk and a trunk guard fitted

    Spread three inches of wood chip mulch out to the edge of the hole, pulled back a hand's width from the bark, so it forms a ring rather than a mound against the trunk. Slide a guard onto the trunk, because rabbits and voles are drawn to new plantings. Water deeply every ten days to two weeks through the first summer whenever it does not rain. Most bare root trees that fail die of drought in July, not from anything done on planting day.

Materials needed

As an Amazon Associate, Story Thyme Farms earns from qualifying purchases, at no cost to you. It never changes what we recommend.

Questions we actually get

Should I prune the tree at planting?
Whips get headed at knee-to-waist height to force low scaffold branches, and any broken or crossing wood comes off. Beyond that, prune lightly the first year, leaves feed root building.
Do I need to stake it?
Usually not, an unstaked tree rocks a little and builds a thicker trunk for it. Stake only on windy exposed sites or top-heavy stock, loosely, low on the trunk, and pull the stake after one season.
My bare root tree hasn't leafed out and it's May. Dead?
Scratch the bark with a thumbnail: green underneath means alive and slow, brown and dry means gone. Bare root trees can sulk weeks behind potted neighbors, keep watering the green ones and most wake by June.
From the plant library

Apple — the full profile

Zones, cold-hardy cultivars, spacing, feeding, and where to buy one already rooted.

Open the apple guide →